How to Make Simple DIY Floating Shelves
This is one of those DIY’s that I was hesitant to do. I’ve been wanting to make floating shelves forever but didn’t because I thought it would be harder than it was.
Welp, guess what I was wrong and I’m so glad that we chose to make our own.
When we were building our fireplace with built-ins, I knew I wanted big floating shelves above. I looked everywhere including Etsy. We needed 4 total and for just one the price was steep. I was just not willing to pay what was being asked knowing we could probably figure it out.
Lol, this is pretty much my attitude with all our projects. I get a quote and think ya, we’ll figure it out and do it ourselves.
Really, what could go wrong? If you’re like me and not afraid to take chances, watch a few youtube videos, hop on Pinterest a half dozen times and get your hands a little dirty then this post is for you! 😂
I’m going to share with you how easy it is to customize the floating shelf or shelves you need in any size or color. You’ll learn the benefits of doing this DIY and wonder why you haven’t tried it sooner. Like me!
What is a Floating shelf?
If you’re wondering what a floating shelf is, it’s a shelf in different lengths and thicknesses that’s fixed to the wall with no visible brackets. Hense the word floating. I love them for the minimal look and how strong and sturdy they are.
Floating shelf material list
- 4- 1″ x 10″ x 8′ pine
- 3- 1″ x 4″ x 8′ pine
- 4- 1″ x 2″ x 8′ pine
- 1.25″ brad nails
- 1.25″ screws
- 2.5″ screws
- Wood putty, sand paper, stain or paint, paint brush or sponge stick
The materials listed above are for the 4 floating shelves that we built. Ours were 48″ long 10″ deep and 3.5″ thick. Depending on the size you make your shelves this list will change.
What tools will you need?
- Tape measure
- Level
- Stud finder
- Nail gun
- Table saw
- Clamps
- Square
What size will your floating shelf be?
The shelves we were making for our fireplace built-in area were going to be pretty big. 4 feet long, by 10 inches deep, and 3.5 inches thick.
No matter what size shelf you decide on, the process will always be the same. We even used this process to build our own mantle. I’ll be sharing that in another blog post for you!
This process is really straightforward.
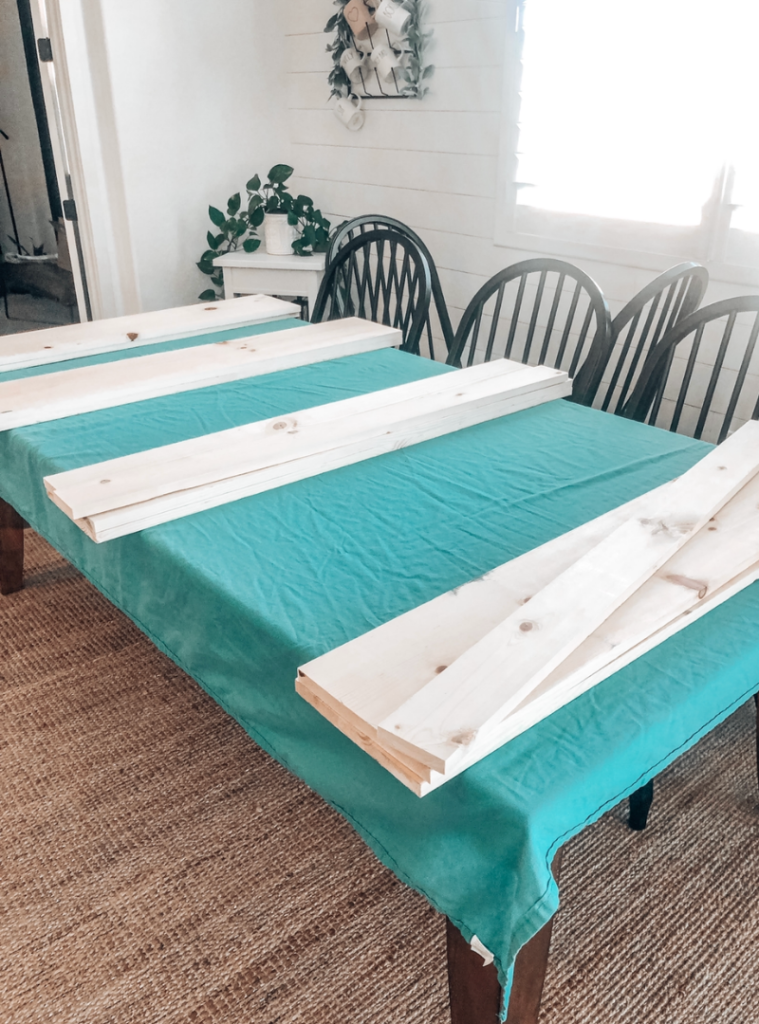
Step 1- Cut Floating Shelf
You’ll want to make your cuts for the three sides of the shelf. All three pieces should be the same length.
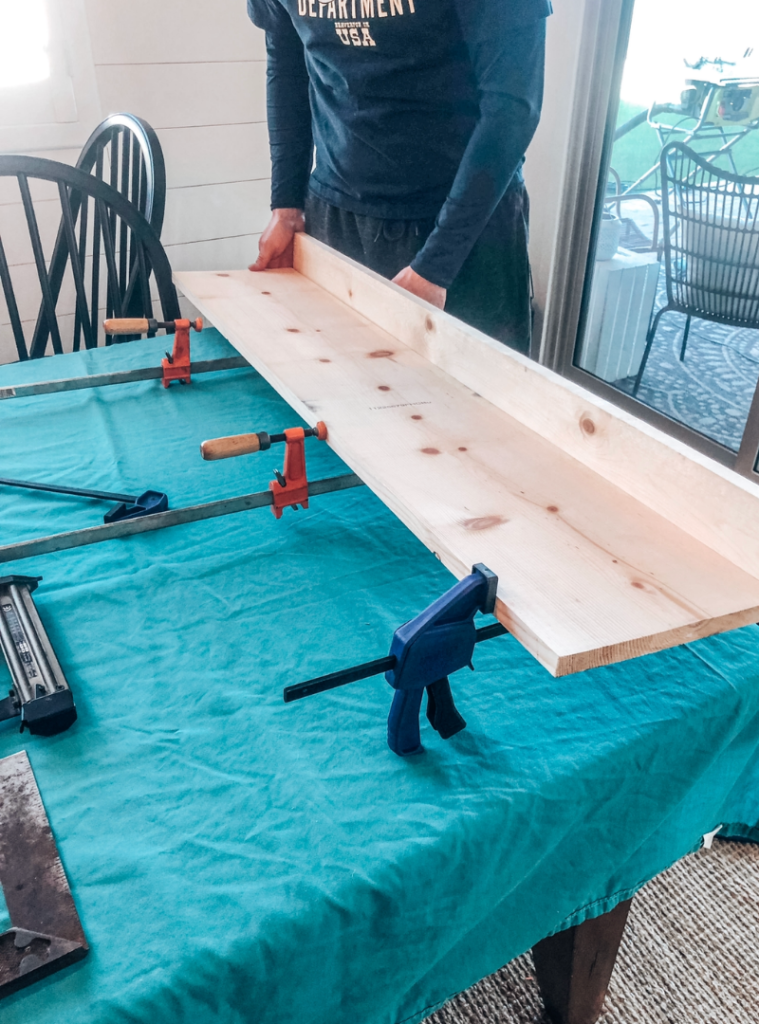
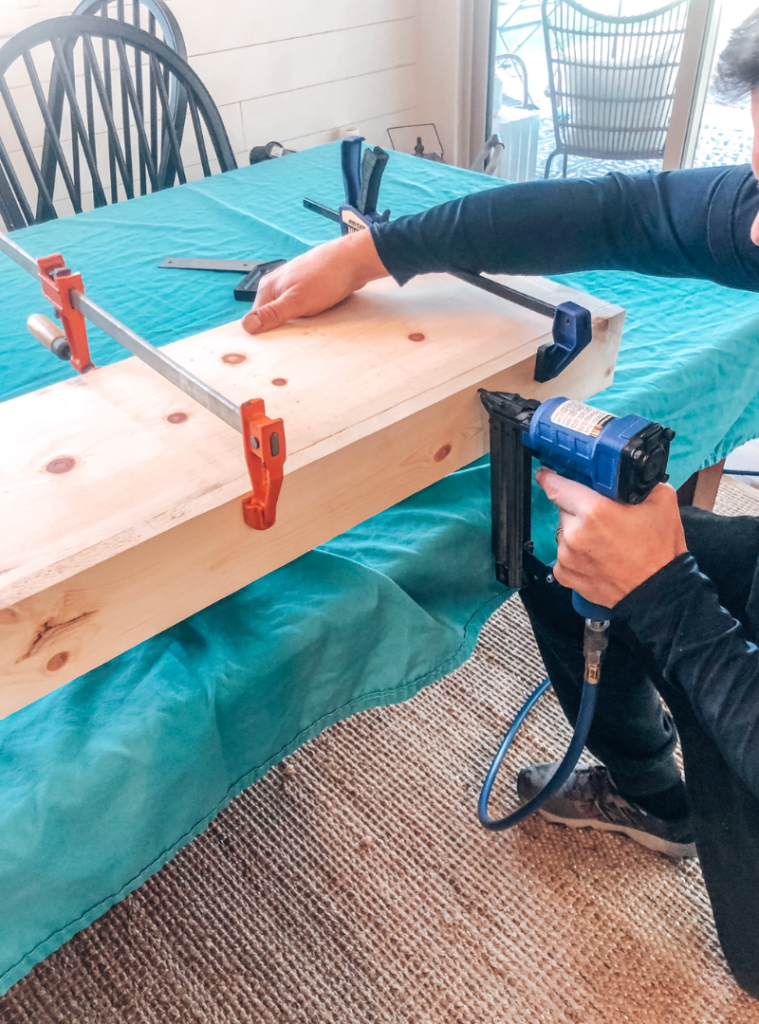
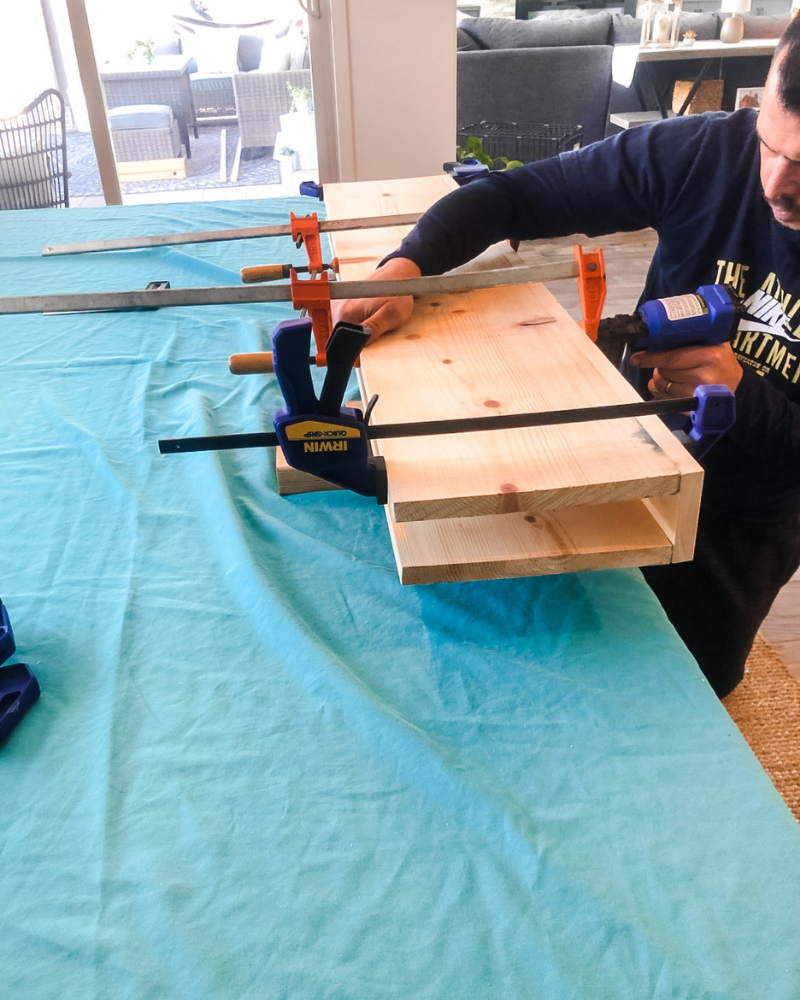
Step 2- Clamp Floating Shelf
Use clamps to hold and secure the side onto the base of the shelf.
We found it easier once we flipped it over to nail in the sides in this position, rather than the picture above. This way we could see that everything was staying lined up good.
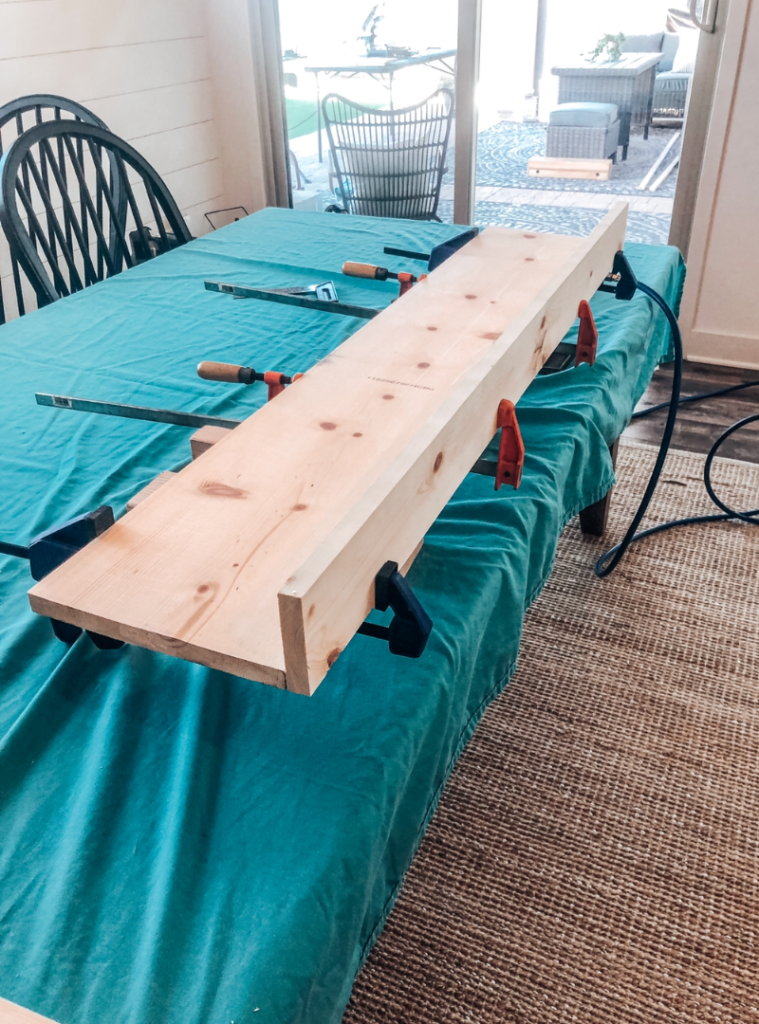
Step 3- Nail Floating Shelf
Secure the first side of the shelf with 1.25″ brad nails
You will repeat the same process for the other side.
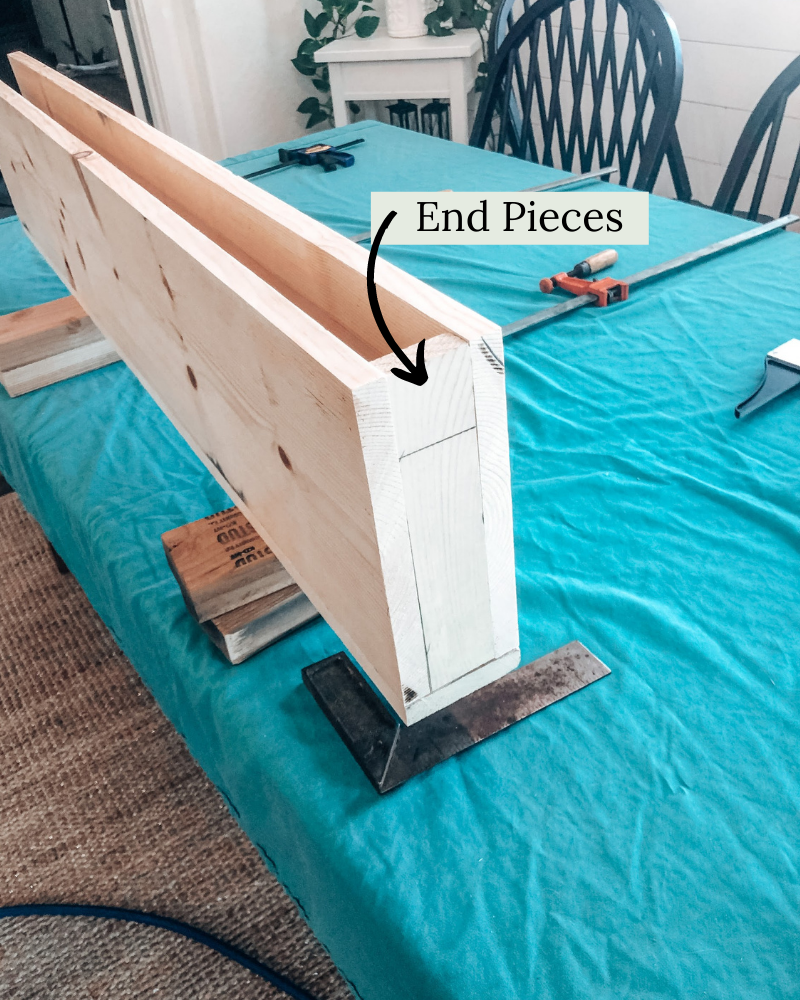
Step 4- Add End Pieces Floating Shelf
Now you’re ready to measure, cut, and add the two end pieces. Make sure that they’re wide enough and give the proper spacing for the shelf to be square.
DIY Floating Shelves-Wall Mount
Now it’s time to build the wall mount. I wish I had taken more pictures of this process for you (epic fail), but I’m learning as I go. Hopefully, you can forgive me!! I’ve realized I need to take WAY more photos during our projects, and moving forward I absolutely will be!
Step 1
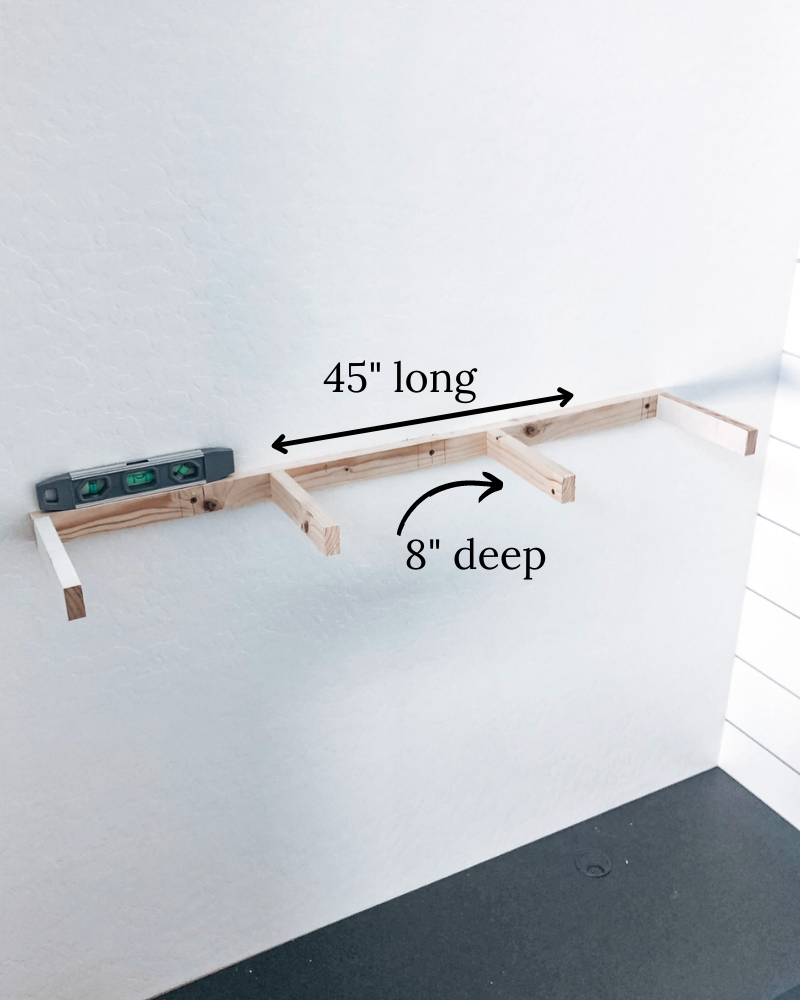
You’ll start by measuring the length and width of the opening in the back of the shelf you just made. As pictured below.
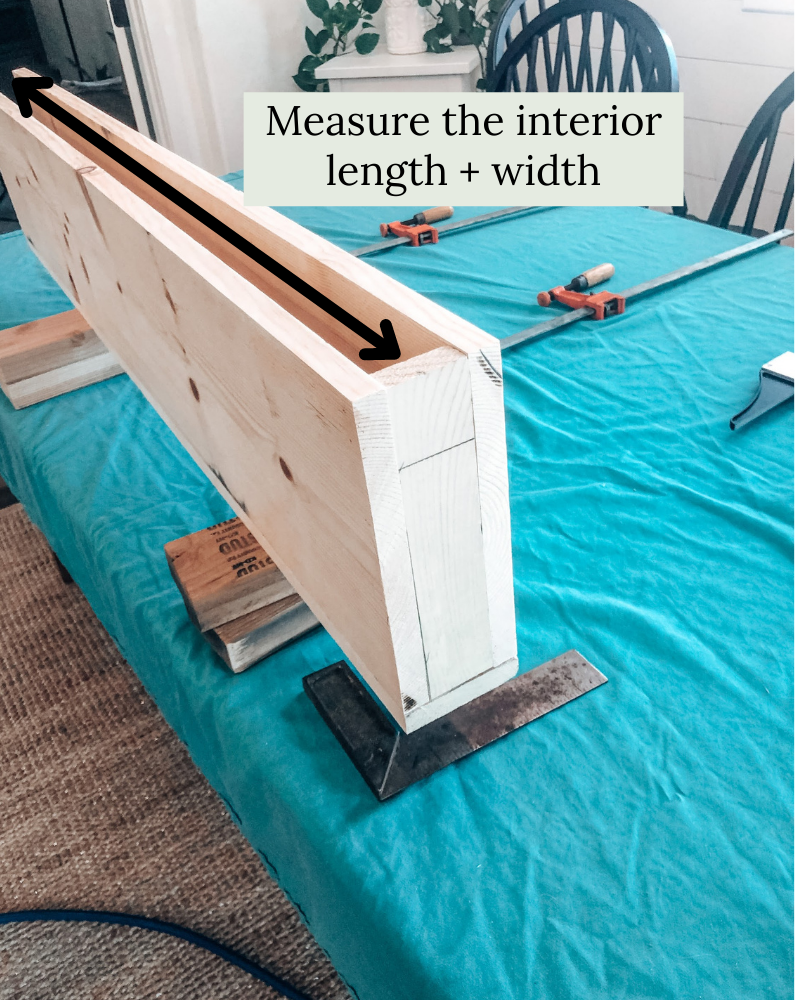
Ours was roughly 46″ long, and we wanted our wall mount to be almost the entire length of the shelf so we made it 45″ long. The depth of the shelf was just under 10″ so, we made the depth of the pieces that came off the base 8″.
Step 2
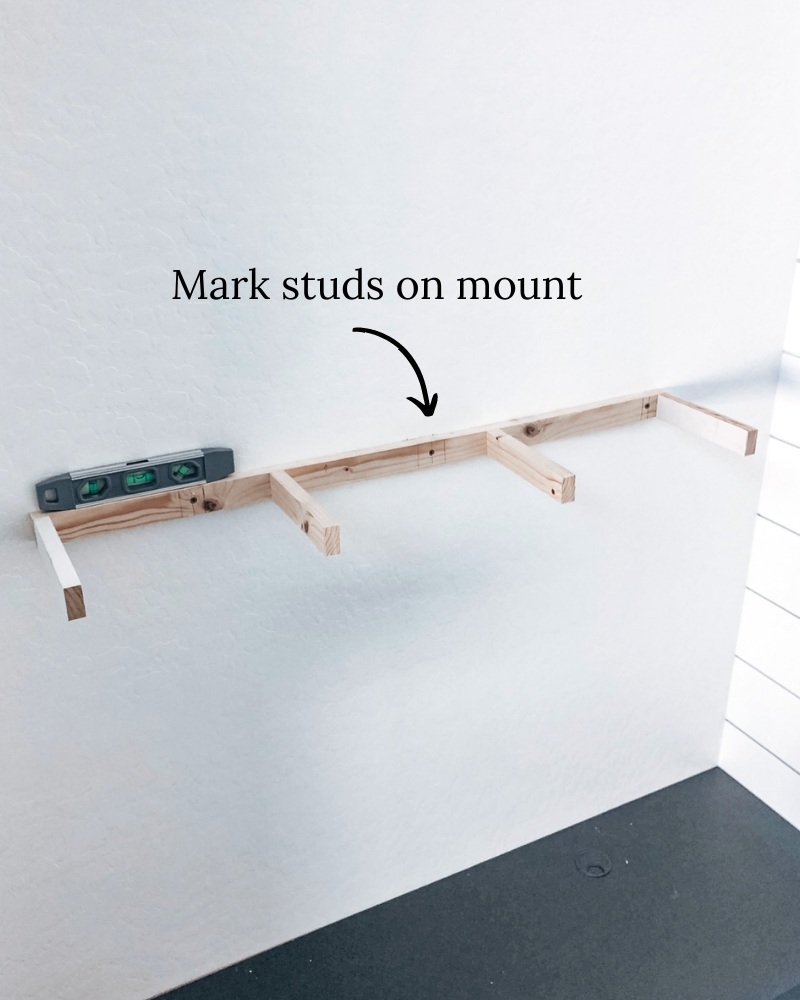
Next, you’ll need to use your stud finder and mark on the wall where your studs are. It doesn’t need to be fancy, here is the one we use.
Once you have your marks on the wall you will hold up the wall mount you made and mark on the wall mount where the holes need to go.
Step 3
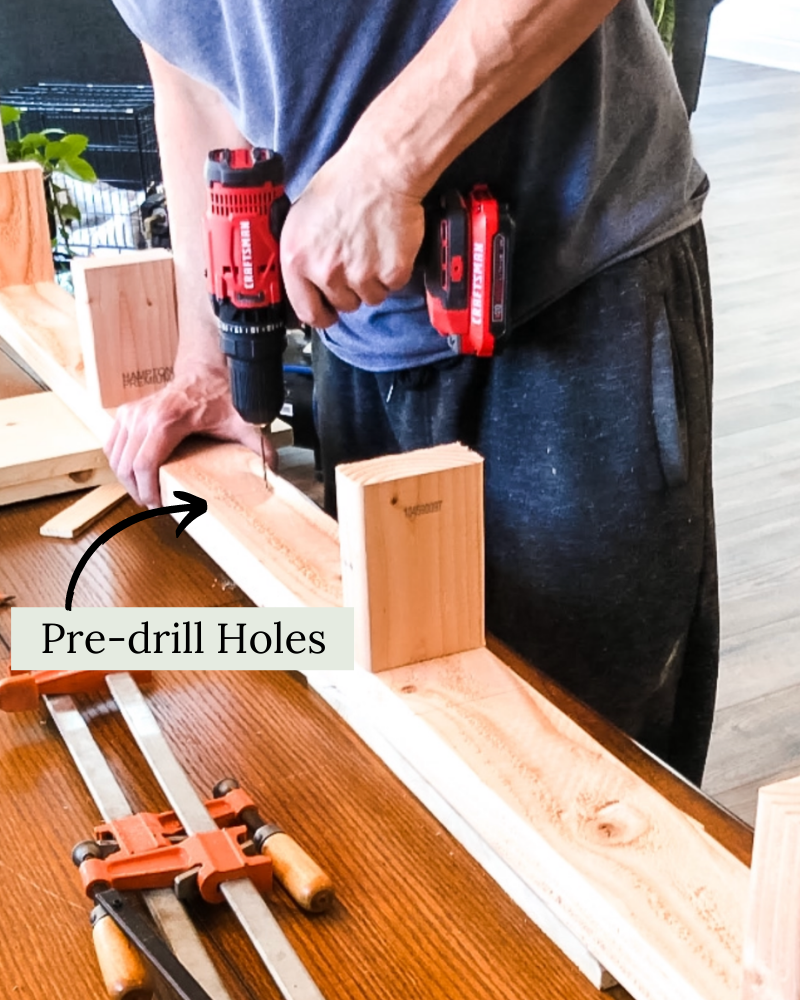
Next, you’ll want to pre-drill holes where your screws will be secured to the studs on the wall. This will help prevent the wood from splitting.
Step 4
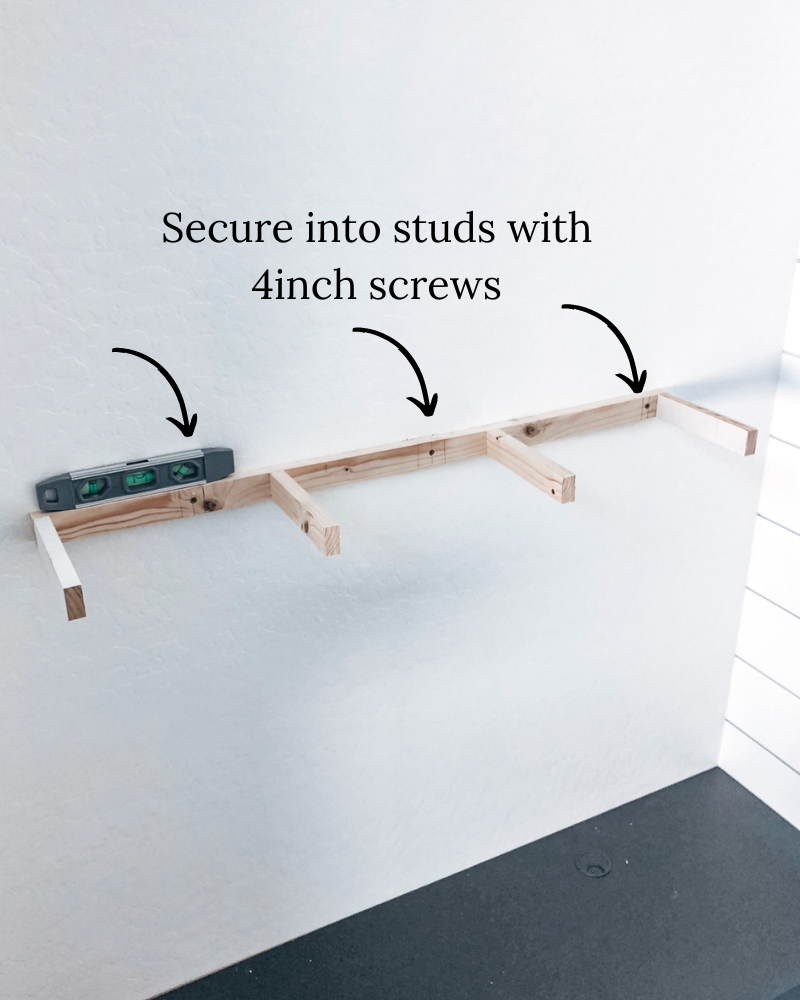
Now you’re ready to secure the wall mount to the wall!! YAY!! Seriously, this is an exciting part you’re almost ready to hang that shelf!!
We used 4-inch screws for this part. Now you’ll line up your predrilled holes to the stud marks on the wall. Make sure everything is level and you’re ready to drill. This part definitely takes two people.
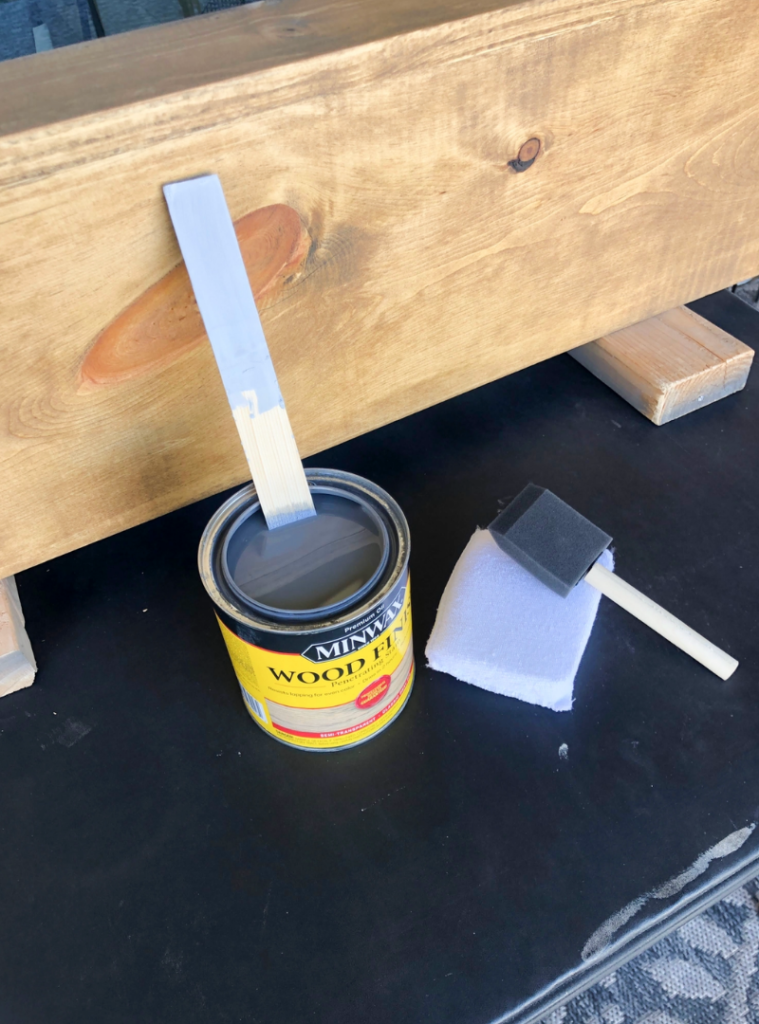
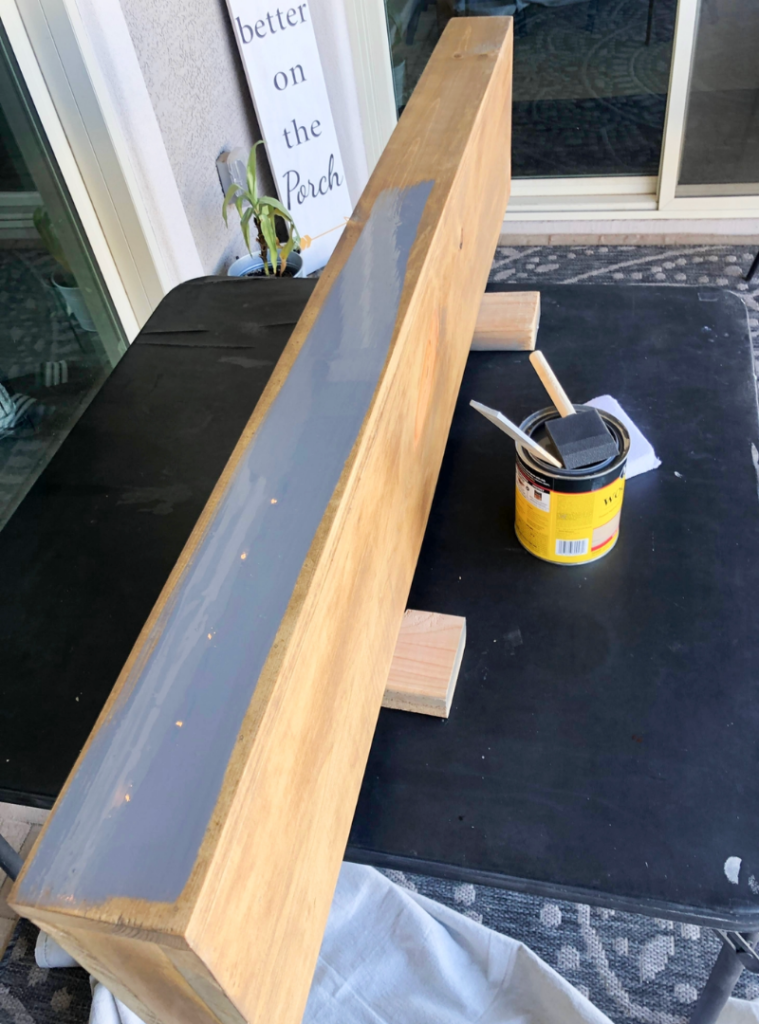
Staining Your Floating Shelf
Whoop, whoop!! This is the best part, putting the final touch on the shelf. I’m not gonna lie this was a bit of a process for me. Ha! I ended up using 4 different colors to get the perfect color stain I wanted.
Hopefully, you’re able to stain yours with one color. I was having a really hard time getting the right tone, I wanted it on the cooler side and just wasn’t getting it.
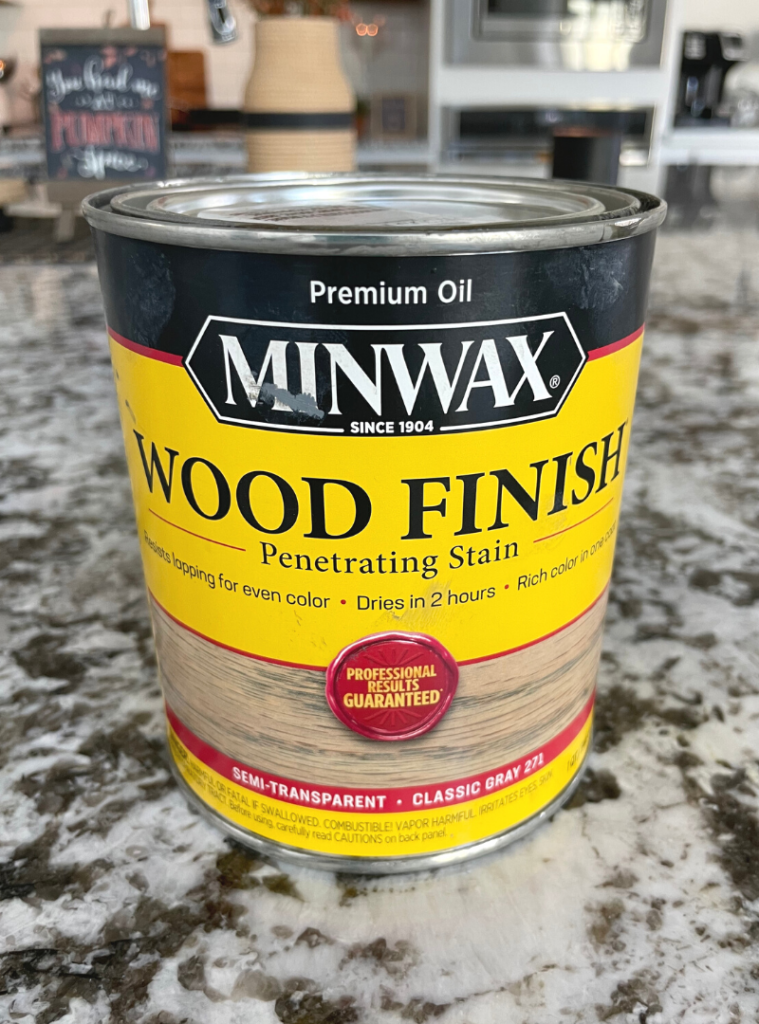
In the end, I used a classic gray from Mini Wax and it was exactly what I needed to get the tone I needed.
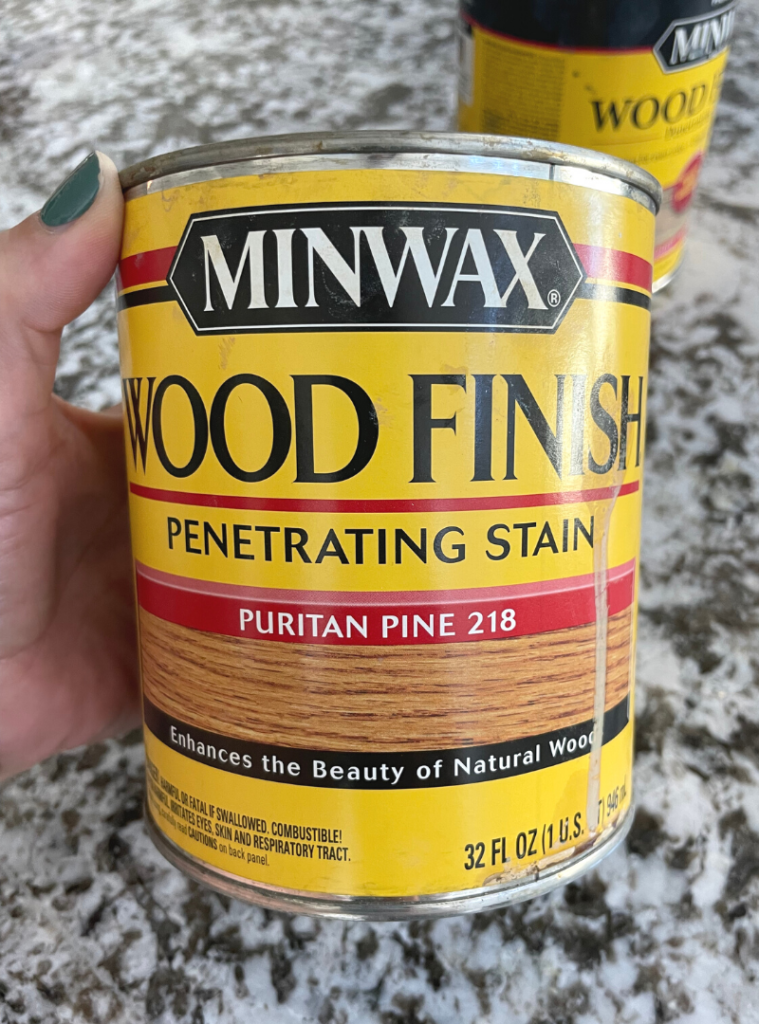
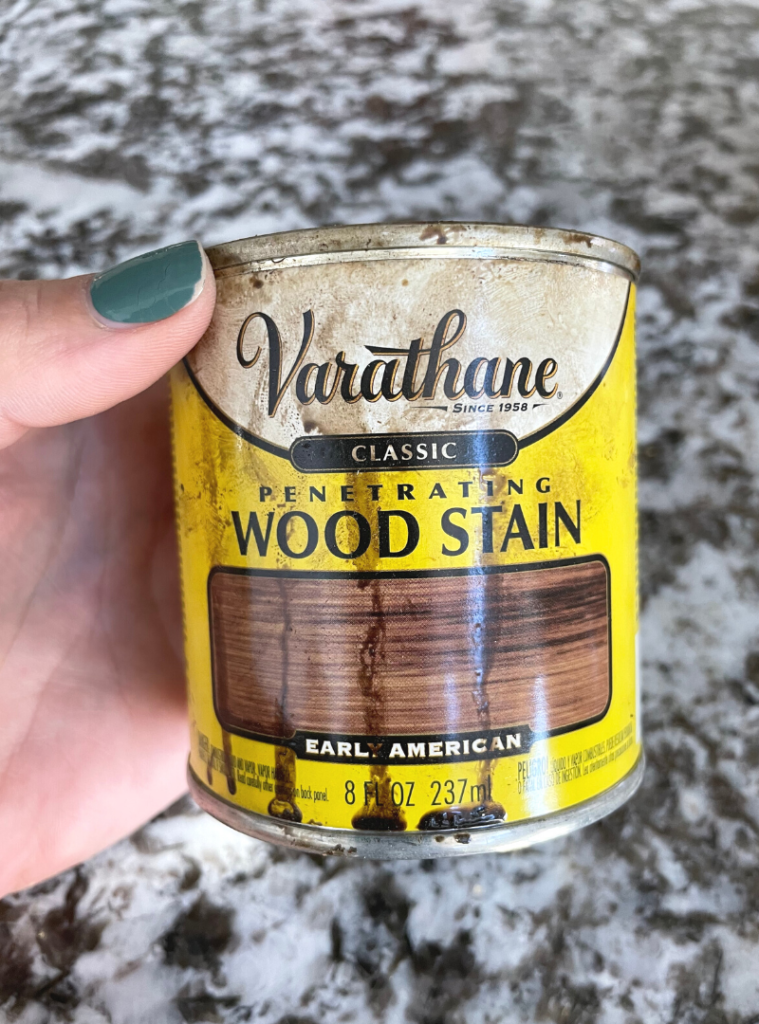
Floating Shelves Stain
- Puritan Pine 218
- Early American
- Driftwood
- Classic Gray
I did one coat of Puritan Pine, Early American, and Driftwood letting each coat dry for 24 hours before applying the next color.

Once all 3 colors were applied I lightly sanded the shelf. I applied Classic Gray with a sponge brush, and only let the stain sit for 10-15 seconds before wiping off with a stain sponge.
I’ve repeated this same process with these 4 colors on other shelves in my house, and they’ve come out perfect every time.
I’m obsessed with the color I just wish it didn’t take 4 colors to get it!! LOL
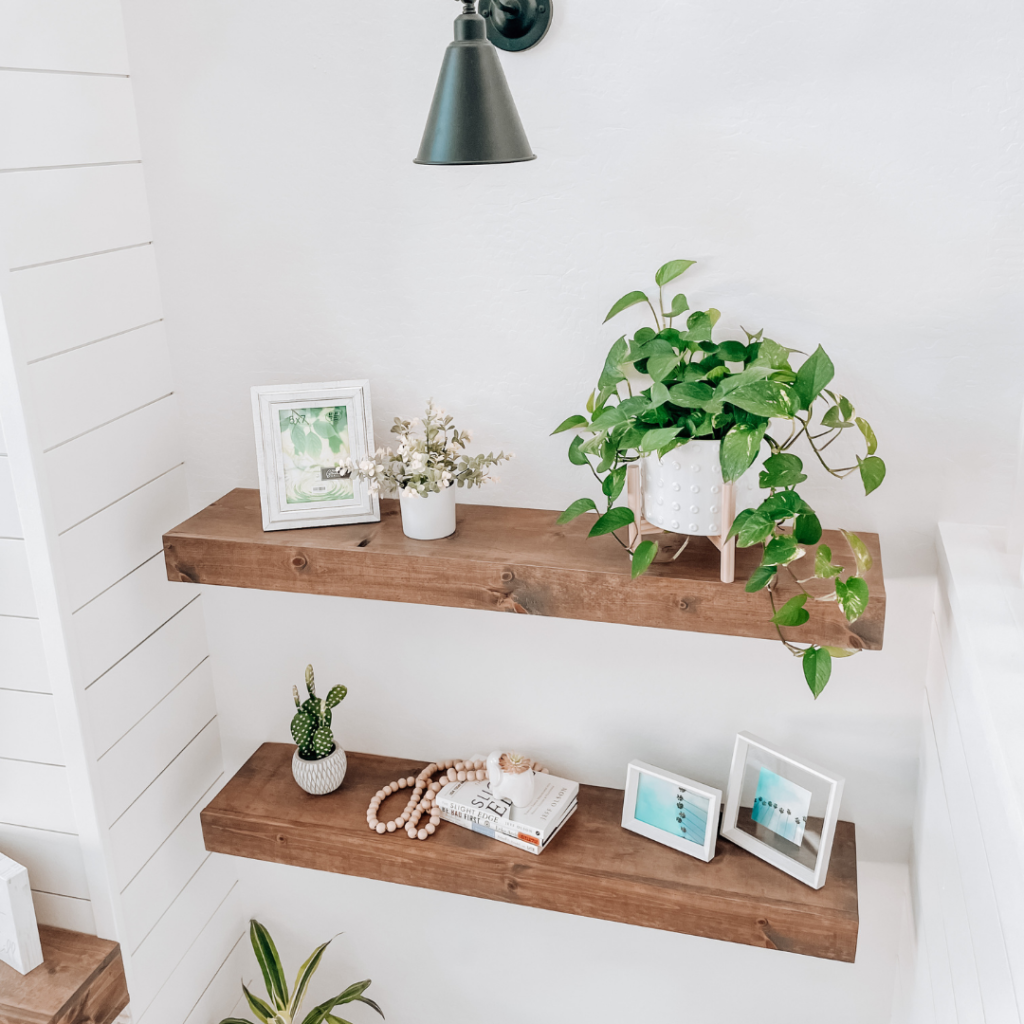
I hope you enjoyed this walk-through floating shelves DIY! Pictured below is the final product and I couldn’t be happier with how they came out!
Thanks for stopping by the blog today! If you enjoyed this DIY you might like to check out my Easy Board & Batten DIY Wall here.


You May Also Like
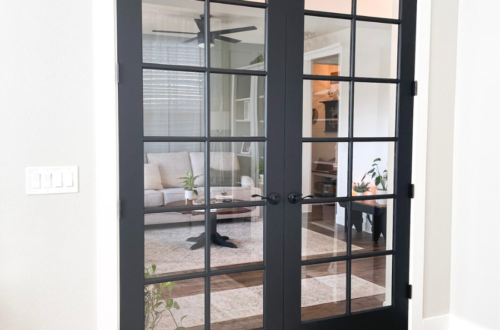
How to Install Interior French Doors to an Existing Opening
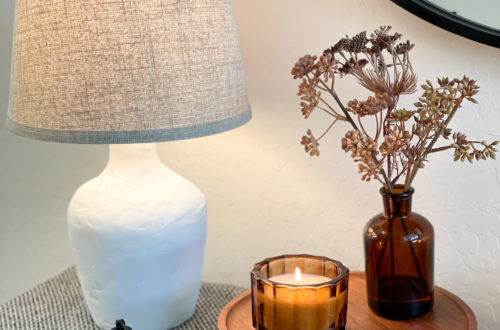
Faux Ceramic Lamp: How to Upcycle an Old Lamp